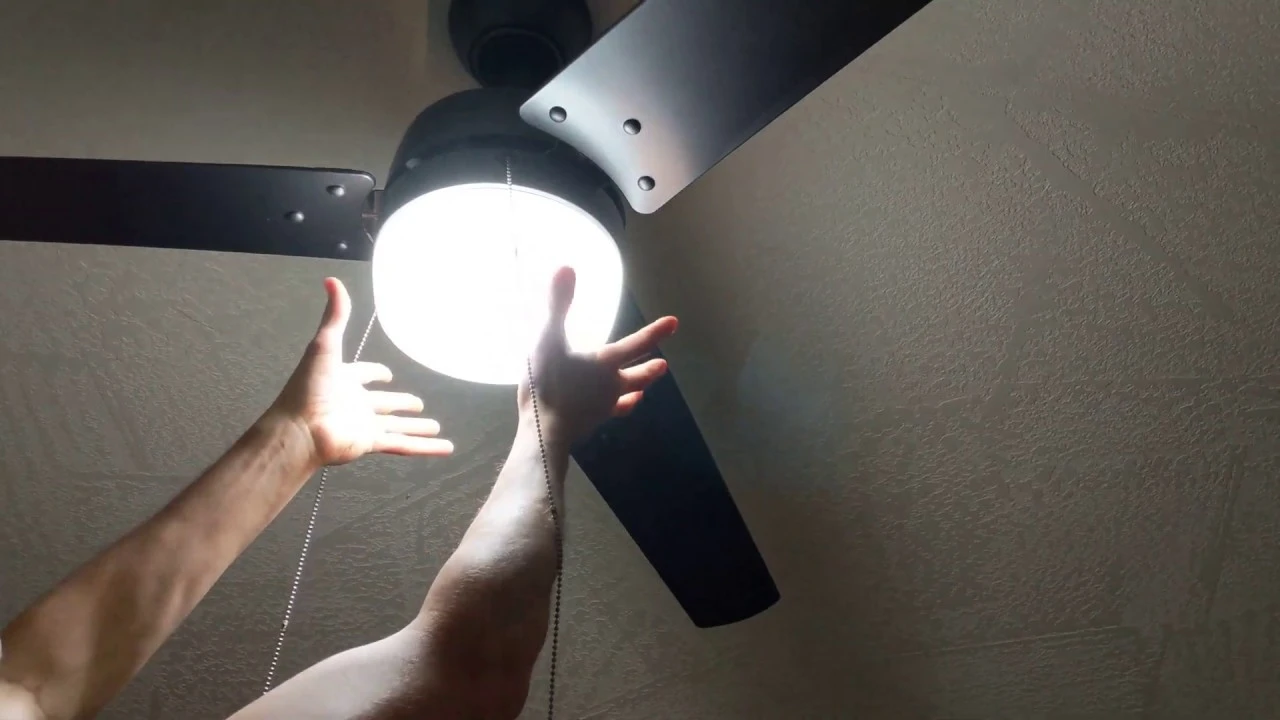
Ceiling fan light covers are protective and decorative fixtures that encase the light bulbs of a ceiling fan.
They help to diffuse light, create a pleasant ambience in the room, and safeguard the bulbs from dust and damage.
It is usually attached to the fan’s light kit and plays a vital role in light distribution.
Whether you want to clean the cover to maintain its brightness or replace a burnt-out bulb for better illumination, knowing how to remove Ceiling Fan light cover safely is essential.
Removing this cover is an easy task that anyone can manage by following a few easy steps.
Five simple steps to remove ceiling fan light covers
- Turn off the power
- Taking protection
- Get the right tools
- Identify attachment
- Release clips or tab
Following these straightforward steps, you can safely remove your ceiling fan’s light cover for cleaning, bulb replacement, or any other maintenance required.
Turn off the power
Always turn off the power before removing the ceiling fan light covers. This vital step includes using the wall switch or switching off the circuit breaker to avoid electrical risks. Prioritizing safety in cutting off the power supply is crucial to prevent accidents while removing the covers.
Taking protection
To ensure safety, wearing gloves is crucial when removing ceiling fan light covers. They protect hands from dust and potential burns if the lights are on. Gloves also safeguard against dirt, heat, and potential harm during the process. Moreover, gloves offer a better grip, making it easier to tighten the covers securely.
Get the right tools
To reach or open the ceiling light cover on the upper wall, people may utilize a ladder, stool, chair, or any convenient tool available.
Using whatever accessible tool helps them easy access the area. However, for the safest approach, it is advisable to have someone’s assistance to ensure the stability and balance of the ladder or stool.
Identify attachment
Before removing ceiling fan light covers, identify how they are attached by looking for screws, clips, or tabs holding them in place. Knowing the attachment method will guide you in safely and effectively removing the cover, allowing access to the bulbs for cleaning or replacement.
Release clips or tab
For ceiling fan light covers attached with clips or tabs, carefully press or release them to detach the cover from the fixture. Be aware to prevent damage or accidents while performing this step.
Three Methods for Removing Ceiling Fan Light Covers
- No Screw
- Have Screws
- With clips
No screw
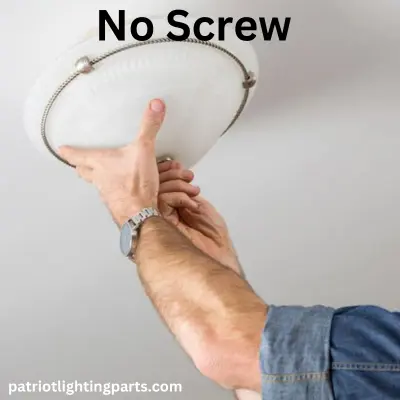
Removing a ceiling fan light cover without screws can be achieved through straightforward steps. Begin by ensuring the fan is turned off to ensure safety.
Next, gently grip the light cover’s edges and attempt a counterclockwise twist, as some covers are designed to be twisted off. If this approach proves ineffective, inspect the edges for small tabs or clips.
Using a flathead screwdriver or a butter knife, delicately press or pry these tabs open. This should release the cover, but handle it carefully to avoid causing any damage.
Should you encounter any challenges, refer to the fan’s manual or seek assistance from a professional.
Have screw
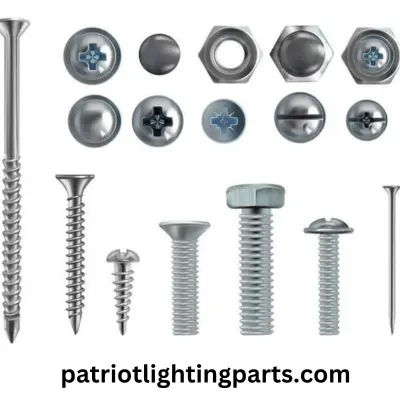
To safely remove the light cover from your ceiling fan, you can follow these straightforward steps.
Start by ensuring the fan is switched off to prevent any mishaps. Next, inspect the cover to locate either screws or clips that hold it in place.
In case of screws, gently turn them counterclockwise using a screwdriver until the cover loosens. For covers held by clips, carefully press or slide them to release the cover.
Once it’s free, place the cover somewhere secure. Remember to clean the cover before reattaching it, and handle the fan and electrical parts with care.
With clips
To safely remove the ceiling fan light cover with clips, start by turning off the fan and light using the wall switch.
Next, locate the clips that hold the cover in place; you’ll usually find two or more clips on opposite sides of the cover. Gently press or squeeze these clips to release them from the edge of the cover.
As you do this, carefully support the cover with your other hand. It’s essential to be gentle, especially if the cover is delicate. Once the clips are detached, you can easily lower the light cover.
Remember to handle it with care to prevent any potential damage.
Conclusion
By following the correct method to remove and clean the cover, you can improve the functionality and look of your ceiling fan.
Safety should always be your top priority, so take precautions while handling the light cover. If you encounter any difficulties or feel unsure, don’t hesitate to seek professional help.
With a little effort, your ceiling fan will be in great shape, providing comfort and style in your living space. Enjoy the refreshed ambience and air circulation for a more pleasant environment.
FAQ
My ceiling fan light cover is stuck. What should I do?
If the light cover is stuck, don’t force it. Try gently twisting it counterclockwise or checking for any hidden screws or clips holding it in place. If it still won’t budge, consult the fan’s manual or seek help from a professional.
Can I remove the light cover while the fan is still on?
No, it is essential to switch off both the fan and the light at the wall switch before attempting to remove the light cover for safety reasons.
What Tools Are Needed?
To remove a ceiling light cover without screws, you’ll need a utility knife, pry bar, needle-nose pliers, hammer or chisel, and a Dremel tool. These tools will help you detach the cover safely and effectively.
Can I remove the light cover without removing the fan blades?
Yes, in most cases, you can remove the light cover without taking down the fan blades. The light cover is usually attached separately from the fan assembly, making it relatively simple to detach.